
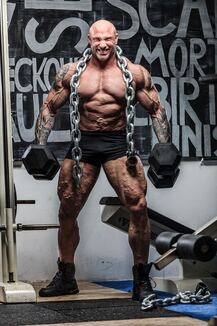
 | Many clients that I work with are coming in to see me in order to heal from abdominal wall separation (diastasis recti), urinary incontinence and pelvic organ prolapse. Our culture admires the look of rock hard bodies, and we are taught at a very young age to "hold it in", to look toned and fit. Unfortunately, down the road, this holding and tensing interferes with our functional mobility, and the full range of motion of lengthening and shortening of muscle fibers. What will it take for our muscle system to be at rest when we are at rest, and to be able to move through full range of motion when we are ready to move? |
Rather than DO such and such exercise to strengthen this and that, we need to UNDO!
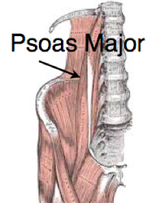
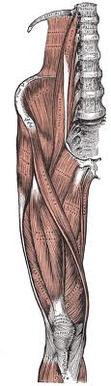
It takes practice to UNDO tensions. Our tension patterns are so hard-wired. Healing DR, UI and POP requires integration of the core system: head and neck, ribcage, diaphragm, abdominals, pelvic floor AND re-establishing new connection to our nervous system.
Try this right now:
Sit for a moment and notice your breathing.
Now start to nod your head up and down as if you are saying yes, or lift your arm up and down.
Did you hold your breath?
It is a simple move, and yet more than likely, you held your breath. We should be able to move and breathe at the same time.
When we hold our breath we are tensing muscles and increasing pressure into our body wall. This load to the tissue adds up over time. Doesn't this make you curious how often you might be holding your breath all day long? One of the keystones to healing the pelvic floor and the abdominal wall is to connect to our breath, allow the abdominals and pelvic floor to move, decrease the tensions in the neck, shoulder girdle, ribcage and lower back.
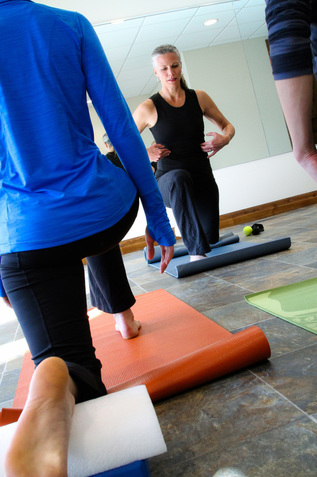
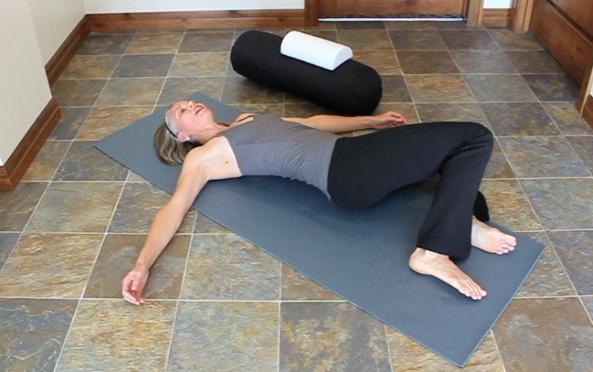
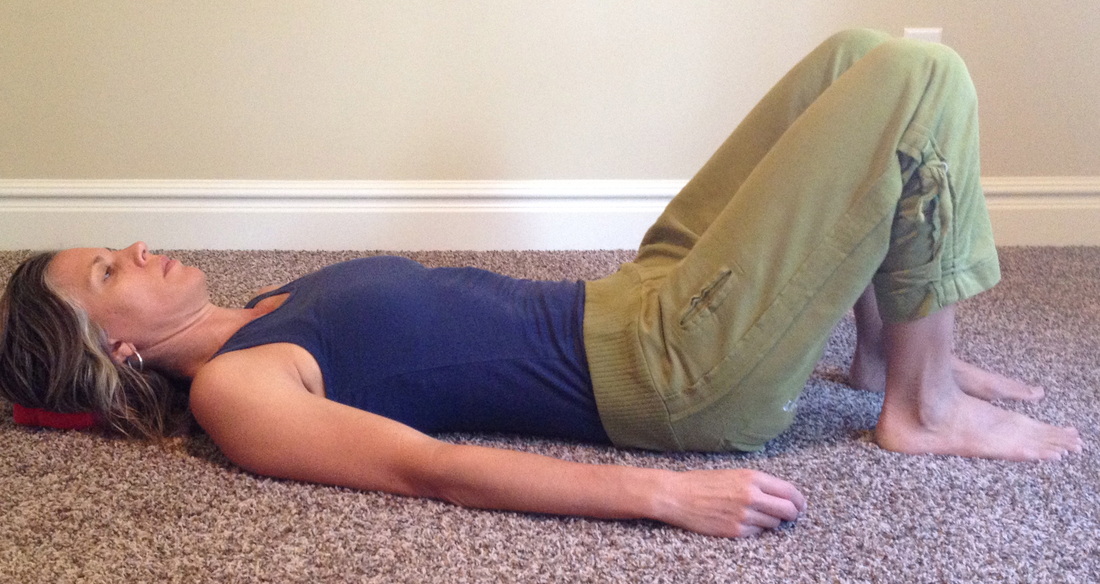
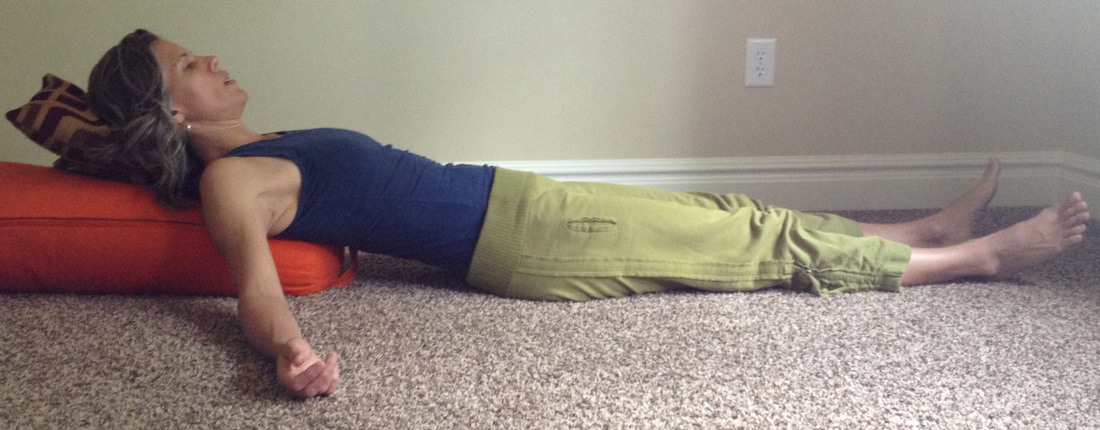
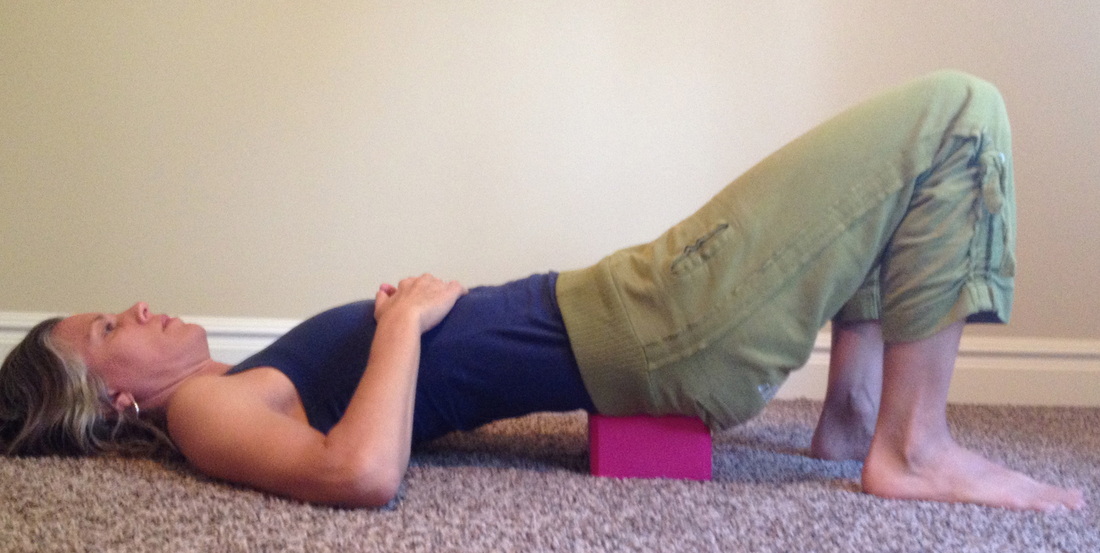
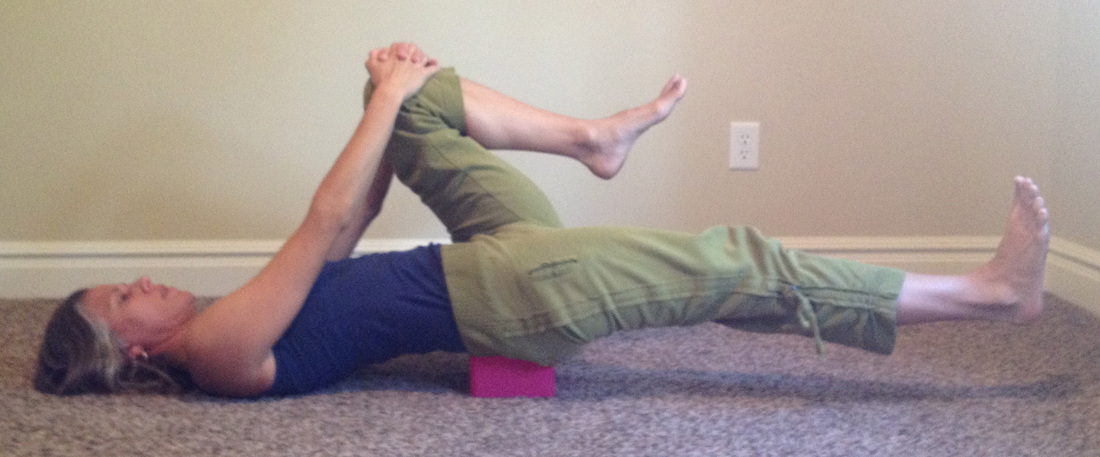
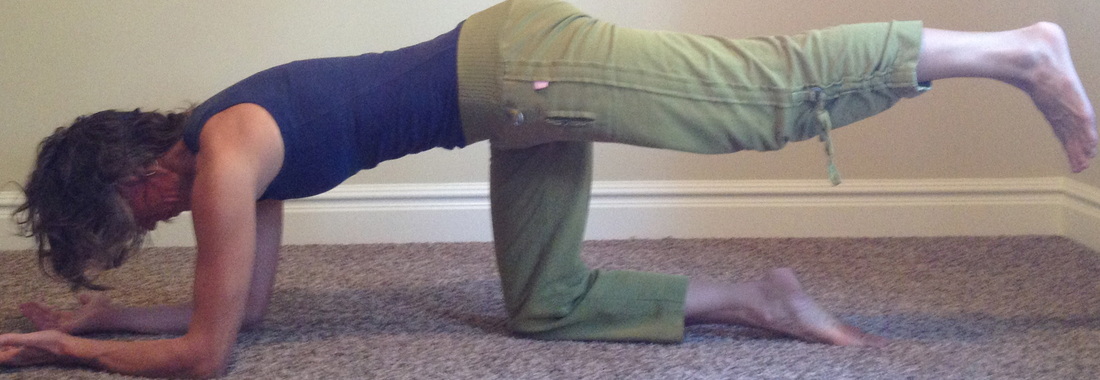
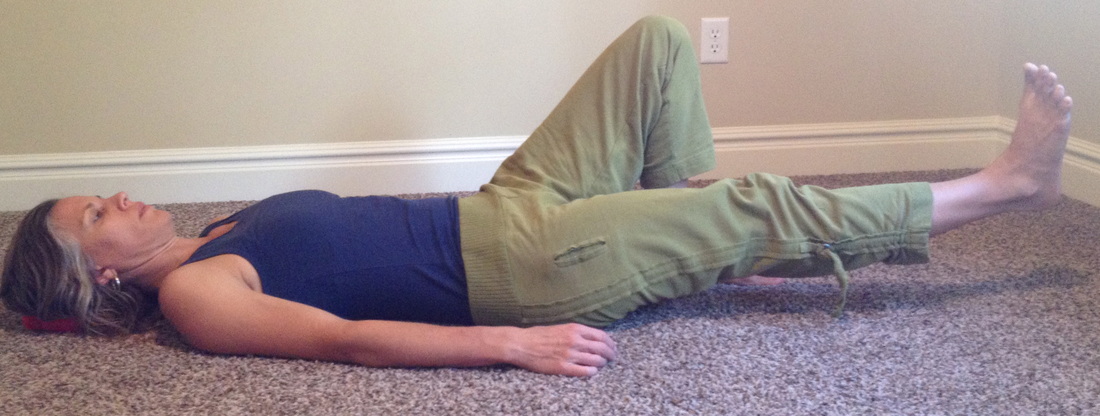
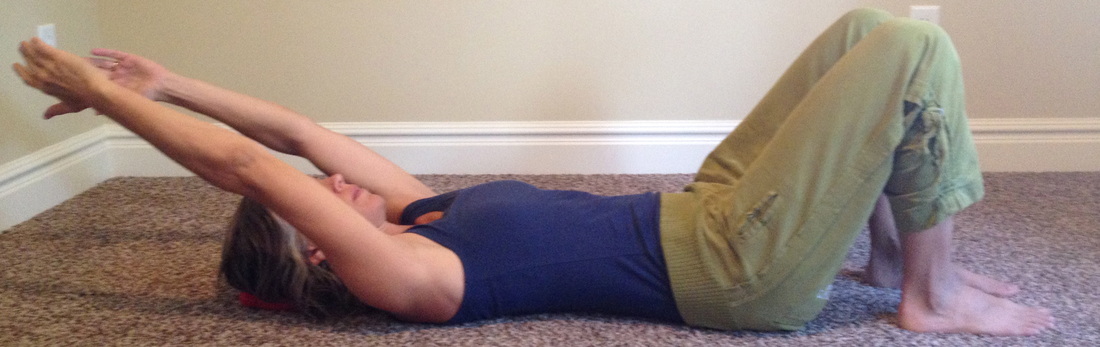
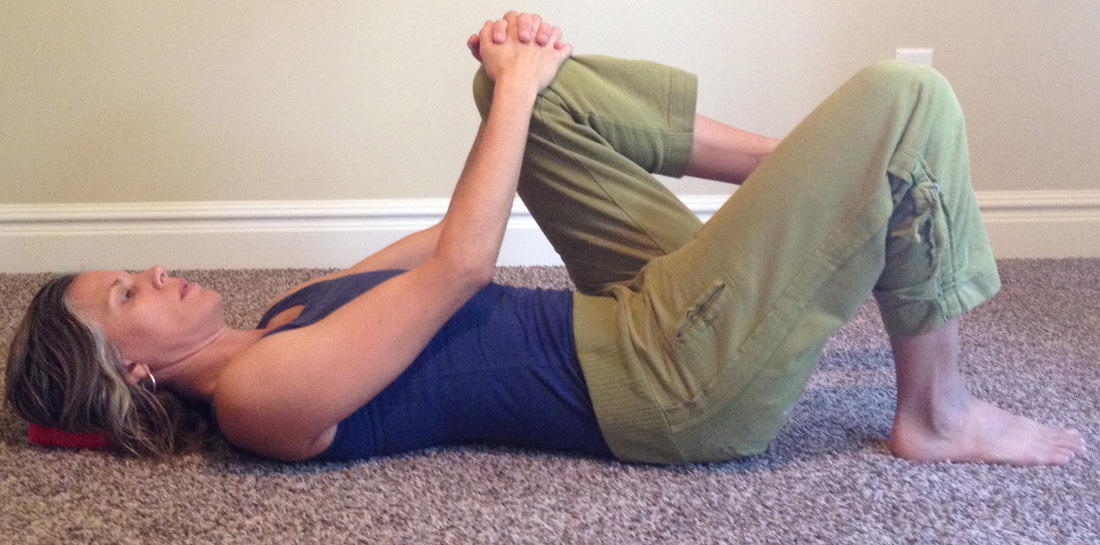
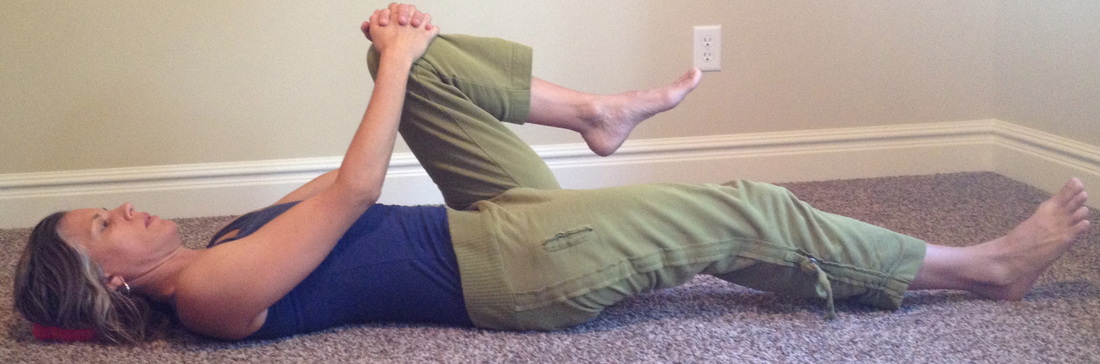
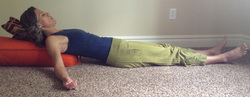
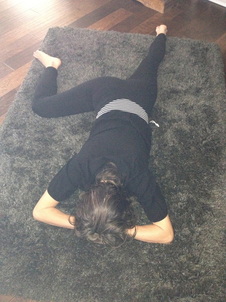
Core integration sequence: UNDOING tension in the neck and ribcage
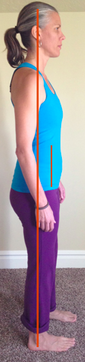
Susan McLaughlin is a physical therapist who specializes in the management of pelvic floor and orthopedic dysfunctions. She is the owner of ALIGN integration|movement in Salt Lake City, UT. Helpful tips and other self care strategies can be found at www.alignforhealth.com.


 RSS Feed