
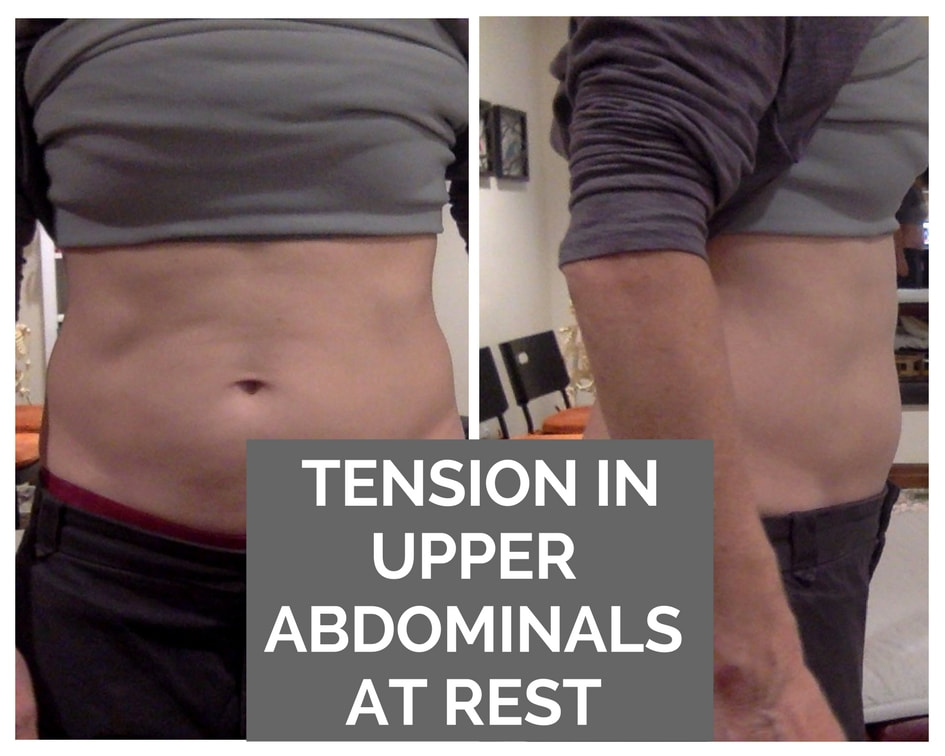
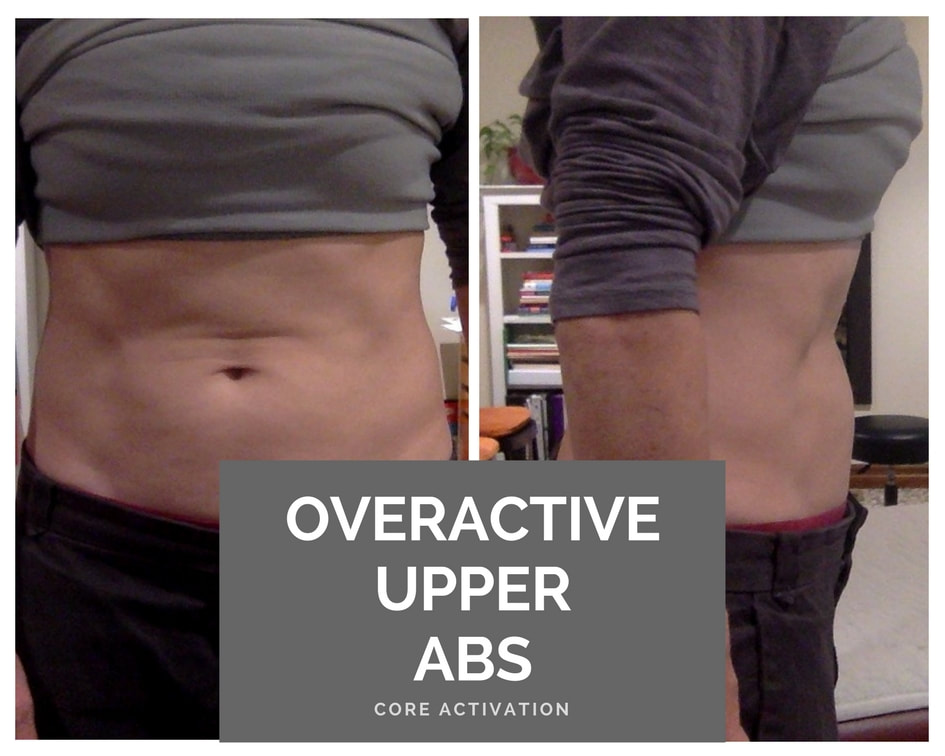
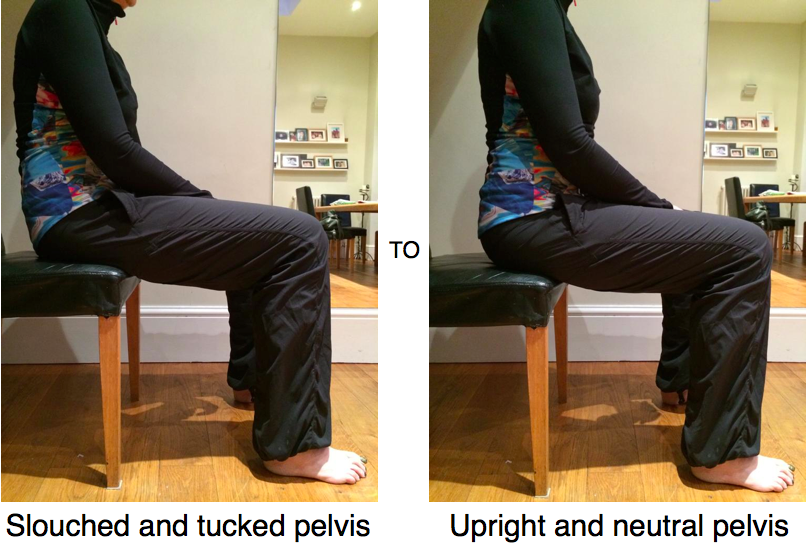
 | When I am working with clients who present with pelvic organ prolapse, urinary leakage, back pain or abdominal wall separation, there tends to be a few common patterns:
|
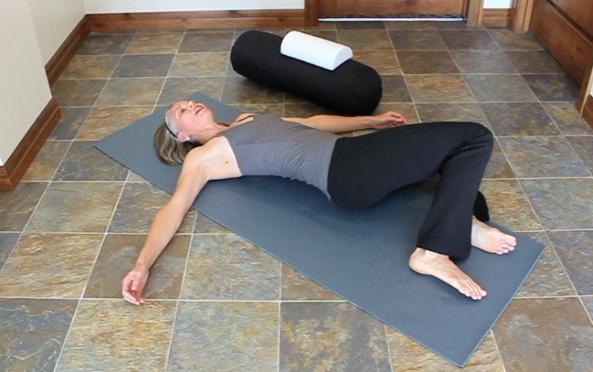
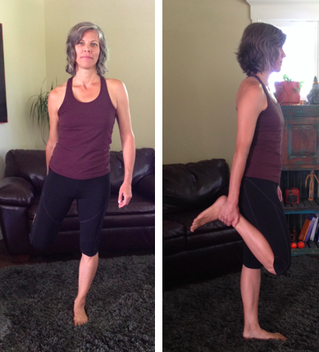
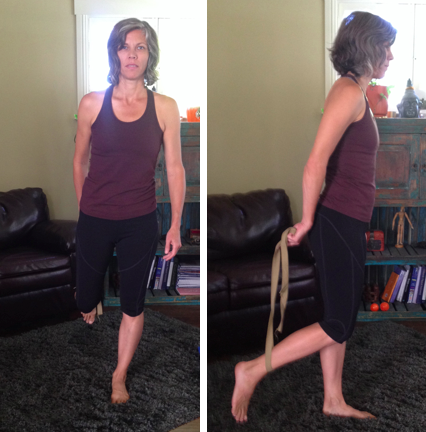
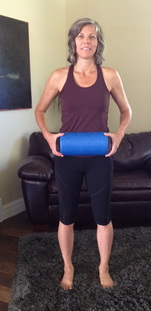
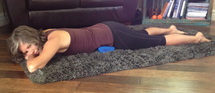
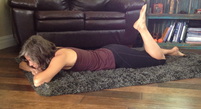
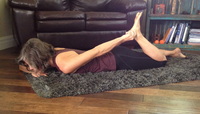
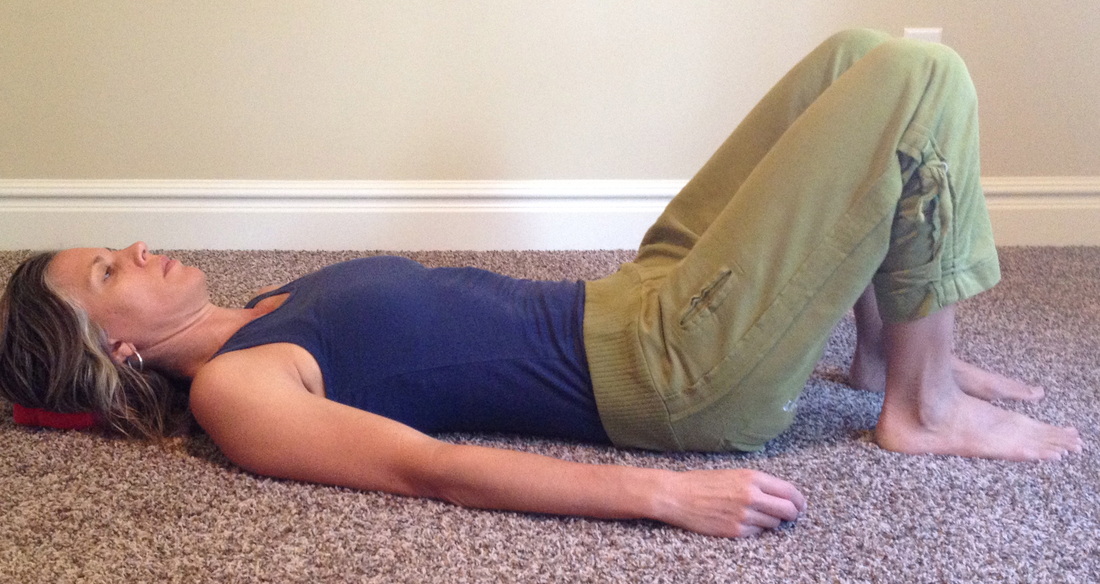
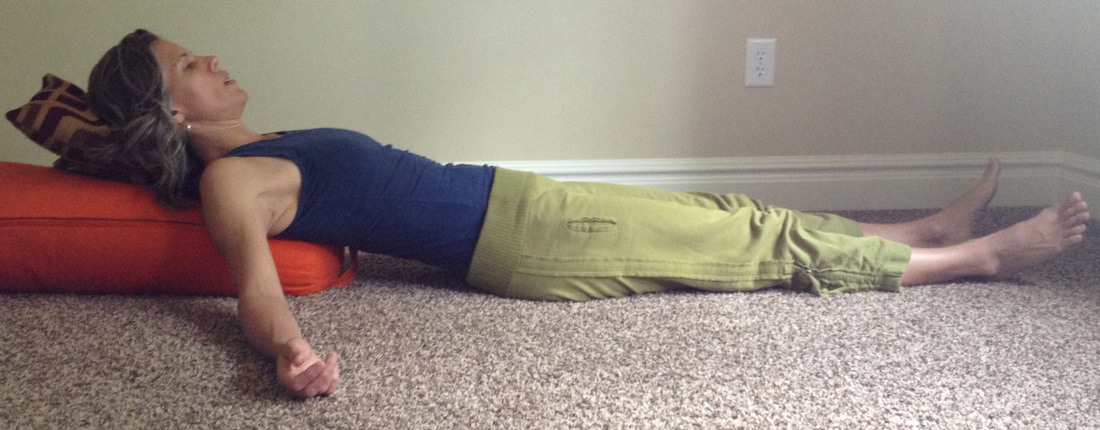
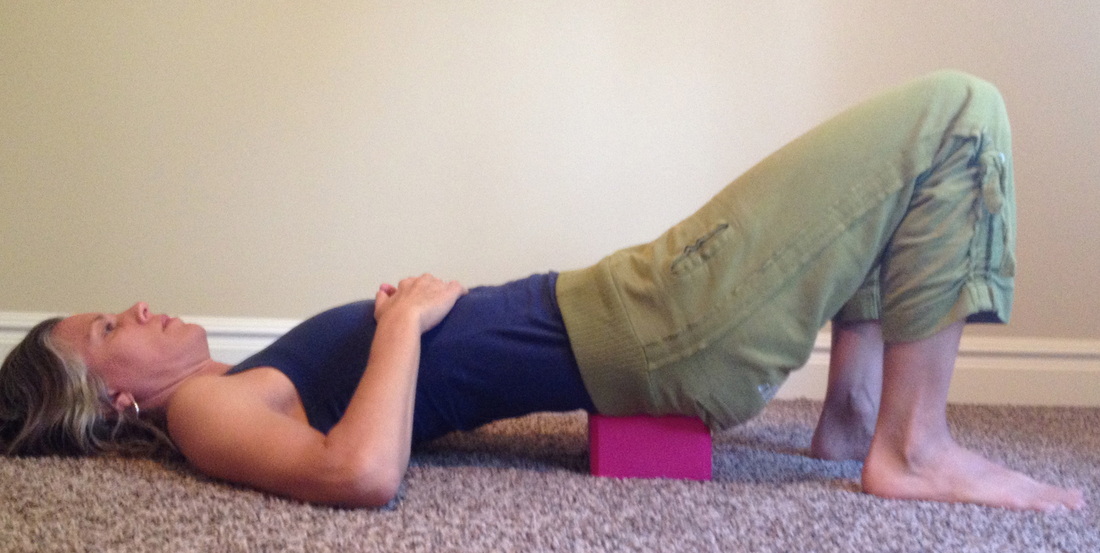
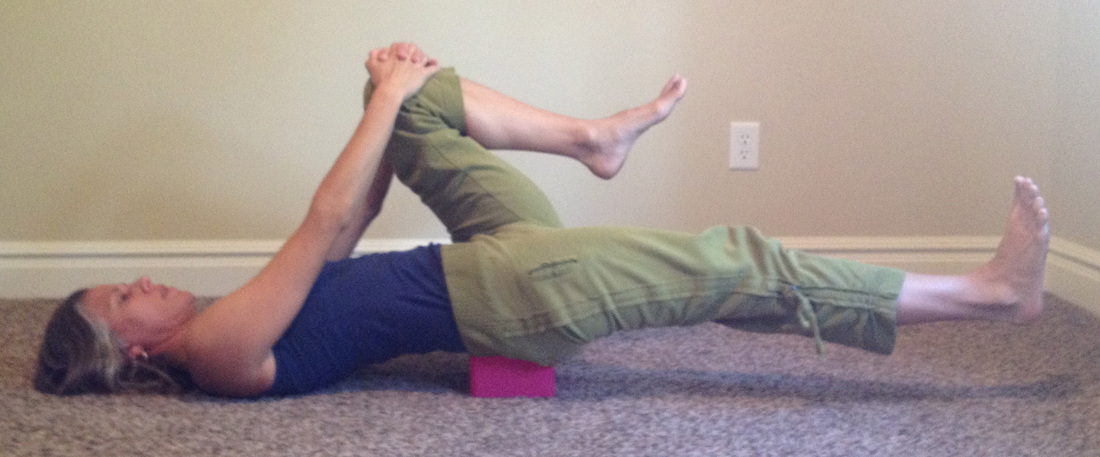
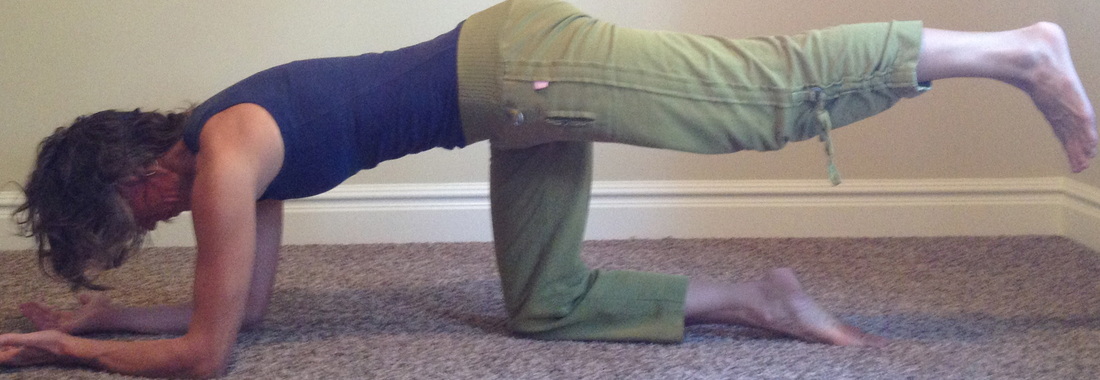
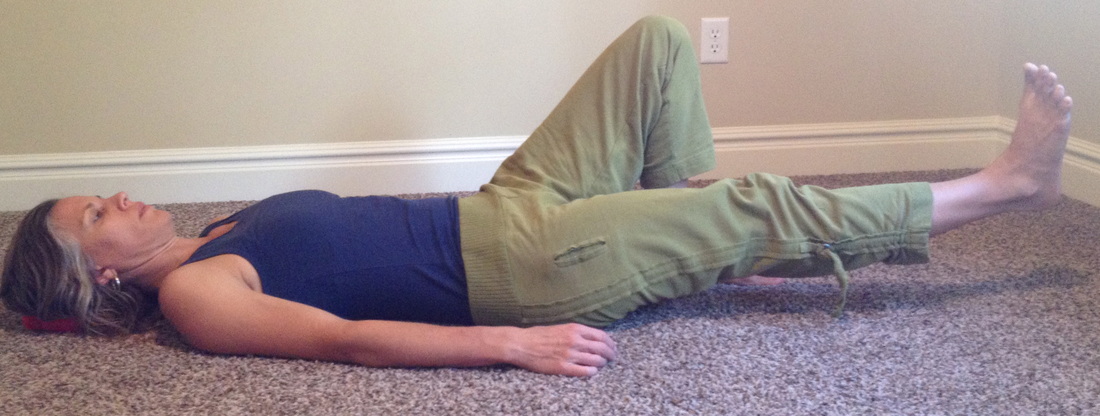
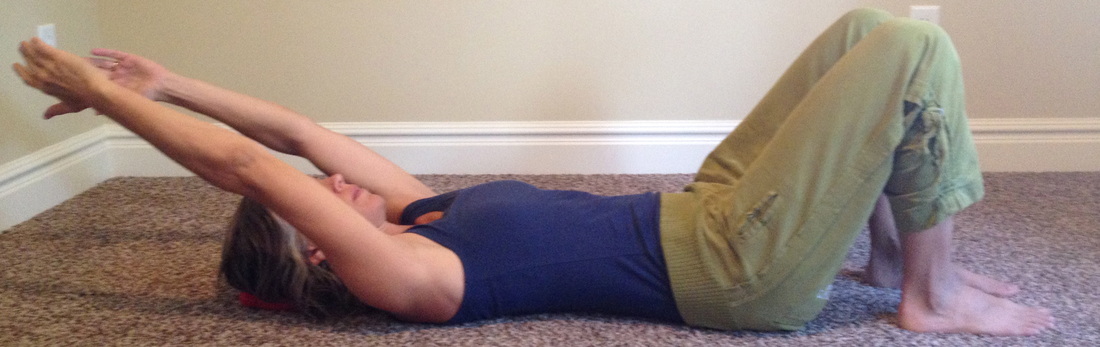
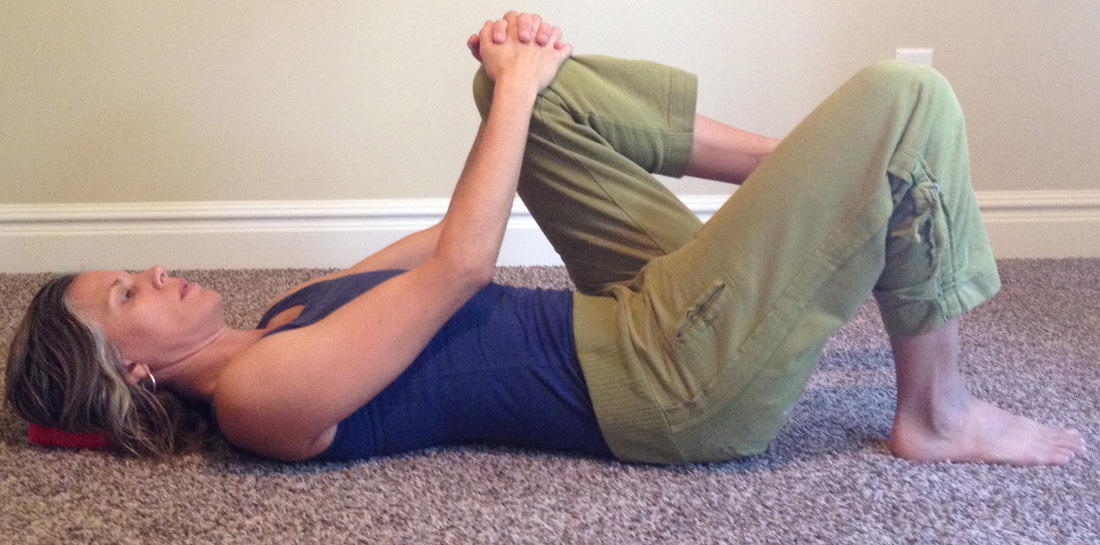
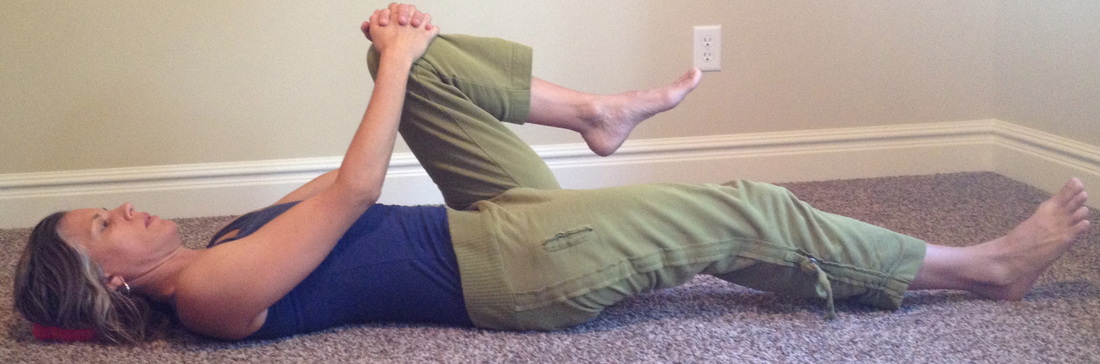
Maintain steady breathing during each movement drill
| | | |
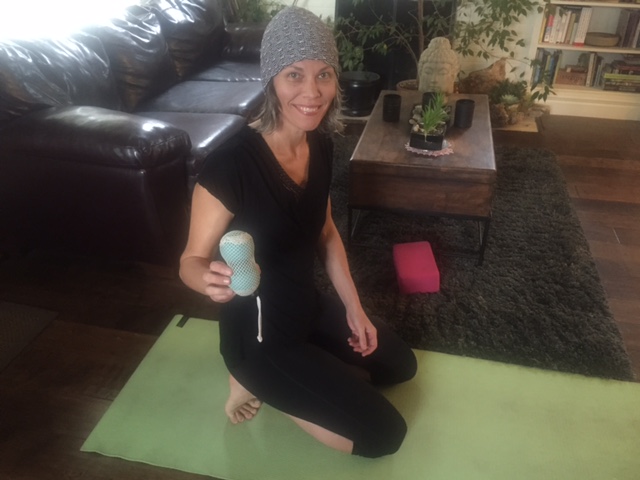
Susan McLaughlin is a physical therapist who specializes in the management of pelvic floor and orthopedic dysfunctions. She is the owner of ALIGN integration|movement in Salt Lake City, UT. Helpful tips and other self care strategies can be found at www.alignforhealth.com.


 RSS Feed